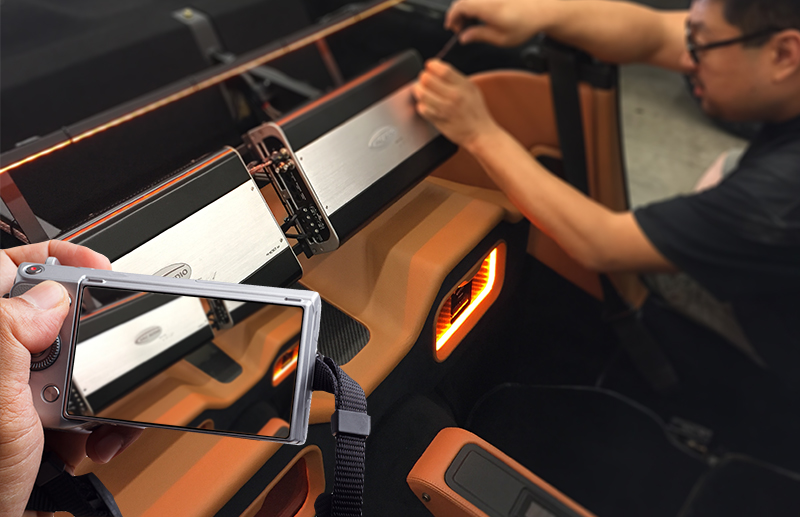
 At 1sixty8 media, we see a lot of photographs every month. These photos are submitted by our clients to be used for their Quick Posts, Build Posts and other content. Sometimes the photos are fantastic and sometimes they are not. In the past, we have tried to address specific areas of photography improvement on a per-client basis. We are realizing, though, that all our clients could benefit from some pointers on photographs for website use.
When working with 1sixty8 Media, photographs can be broken down into three areas:
- What to Take Photographs of
- What to Take the Photographs with
- Where and How to Take the Pictures
This article is the first in a series that is designed to help you step up your photographic game and improve the overall quality of your web presence.
What to Take Photos of
The first area we are going to look at is what to take photos of. As a client of 1sixty8 media, one of your responsibilities is to provide pictures that correspond to Quick Posts, Build Posts and certain other content that you submit.
Each of these products offers its own image count (and you have the option of going over that amount for a nominal fee). It is important to try to maximize the visual impact with the allotted images.
The Exterior Shot
The most important image for all three categories is the exterior shot. This not only helps put the work done on the vehicle in context, but also helps to catch the eye of owners of that vehicle. A key to success with vehicle-specific posts is connecting owners of those vehicles with the posts. Having a great exterior shot that can be used as the featured image puts the vehicle type front and center with a potential client.
The optimal way to photograph an exterior shot of a vehicle would be outdoors, next to a wall of your building that has a store logo on it. A good shot of the exterior of the vehicle with a background that isn’t too busy works well, too.
The Work
Now that you have a good exterior shot of the vehicle and have grabbed the client’s attention, it’s time to show what you can do!
If you are taking photos for a Quick Post of a Navigation system installation, you are obviously not going to have a lot of different pictures. For posts like this, clients often submit photos of the radio from different angles. While that does vary the photos, it doesn’t tell much of a story.
One thing we recommend is getting pictures of what you think makes installed navigation great. Get a shot of a route that is mapped. If the radio does split-screen between navigation and AV, get a photo of that. Does the radio feature Apple CarPlay or Android Auto? That screen would make a good photo, and help further build value to a potential client.
Now that you have a few shots of the screen and the great exterior shot, you have one shot left. We often see pictures of wire harnesses that are neatly wire-tied in a dash or photos of the dash taken apart. For a Quick Post or Mini-Build Post, we don’t recommend those as the best photos.
In the case of the navigation example, do your technicians go the extra mile on making the hands-free microphone look clean? Is the GPS antenna mounted in a thoughtful and appealing location? Is the USB plug accessible to the client?
These are all examples of photos that would tell a more valuable story to your clients. These types of pictures tell the story of the benefit to the client, and help bring additional features of the products and installations to light. Sure, neat wiring is important, but the majority of your clients don’t have the background to know the difference between a wire-tied harness and one spiral-wrapped with Tesa tape.
Behind the Scenes

The photos in the two topics already discussed apply to all three of our categories. Now we are going to take a quick look at the segment of additional photographs that can be used with Build Posts.
On average, Build Posts are for installations that have a number of different parts or a custom aspect. One of the more challenging tasks our team faces is sorting through photos of the behind-the-scenes parts of an install. When we choose the photos that will get posted, we always try to look at them from a consumer standpoint.

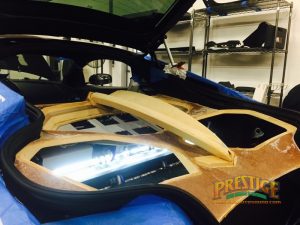
While we in the industry may know that the latest router technique or trick is really cool, your clients probably don’t. An up-close shot of one fabrication facet is likely to be lost on the general public. A better option would be to show that part and how it interacts with the rest of the build or vehicle. That creates context and will make it much easier for clients to see the value in the technique.
If you really want to highlight that particular aspect, make sure the writer knows about it. Our processor reads the Build Posts before picture selection begins, so, if something is mentioned in the article, the processor will look for corresponding photos. Because our processors have a strong background in the 12 V industry, they have the unique ability to caption the images with additional details that might have been overlooked in the article.
We hope that you’ll read this, think about it, read it again and think about it even more. Please share it with your employees who will be taking pictures. Consider arranging some sort of bonus program or contest with your staff to reward good pictures. We promise your time and money would be well spent. Compelling and informative photographs can make a huge difference in client engagement on your website.
The next article focuses on What to Take the Photographs With (yes, that was deliberate). We will look at a range of ways to capture images and tips for using them.


Leave a Reply